Weighting a Simple Object
In this guide we'll go over how to rig a simple object to a limited number of weight zones on the AA body
In this guide we'll go over how to rig a simple object to a limited number of weight zones on the AA body
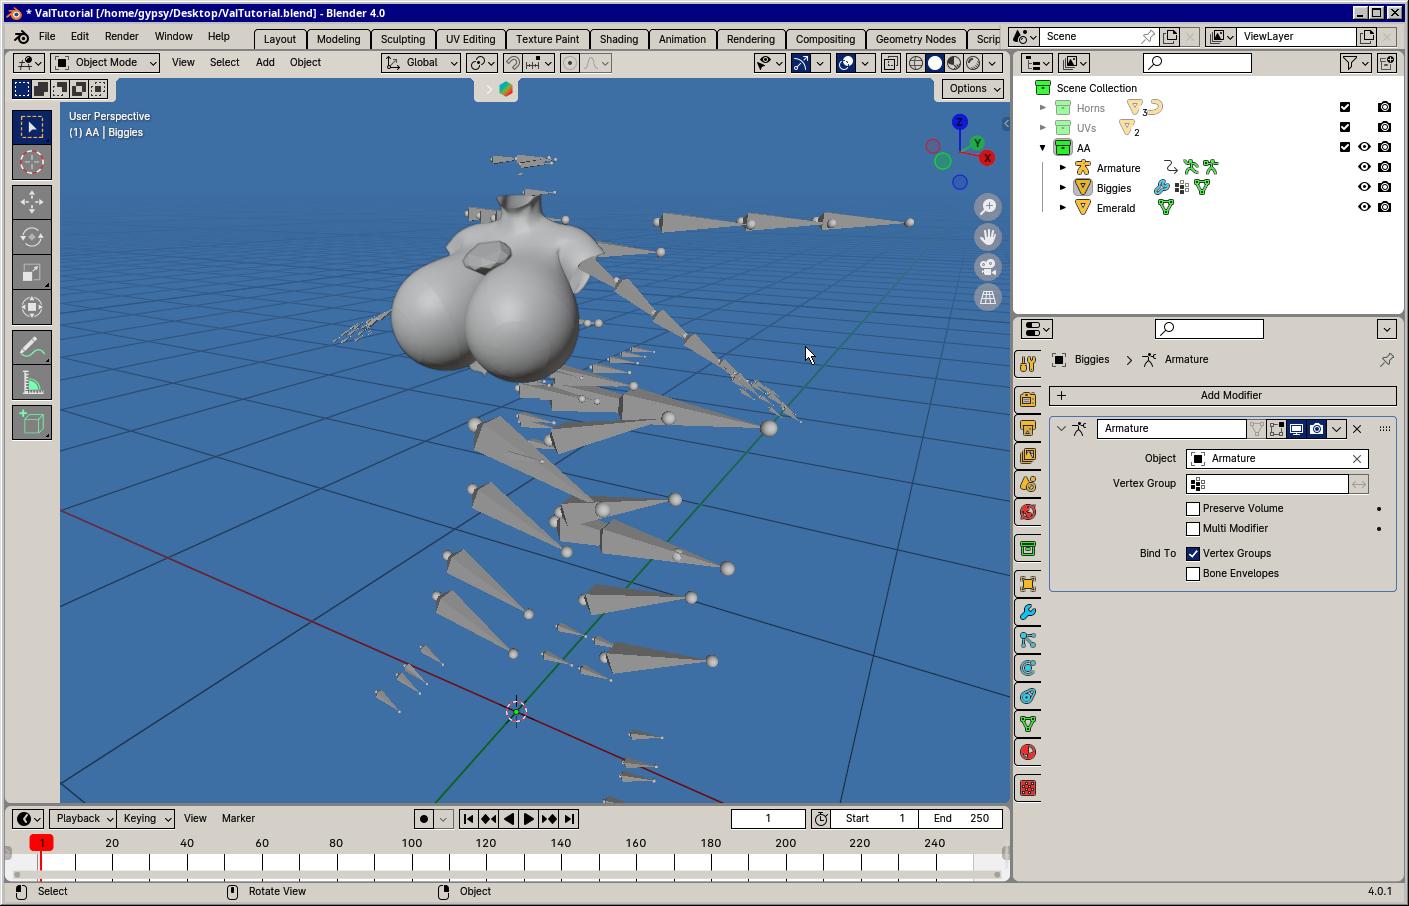
We're going to start off like this. I have three object in the scene that matter:
 Top
Top
The most straightforward way to copy the body's weights to the emerald is to transfer them using blender operations
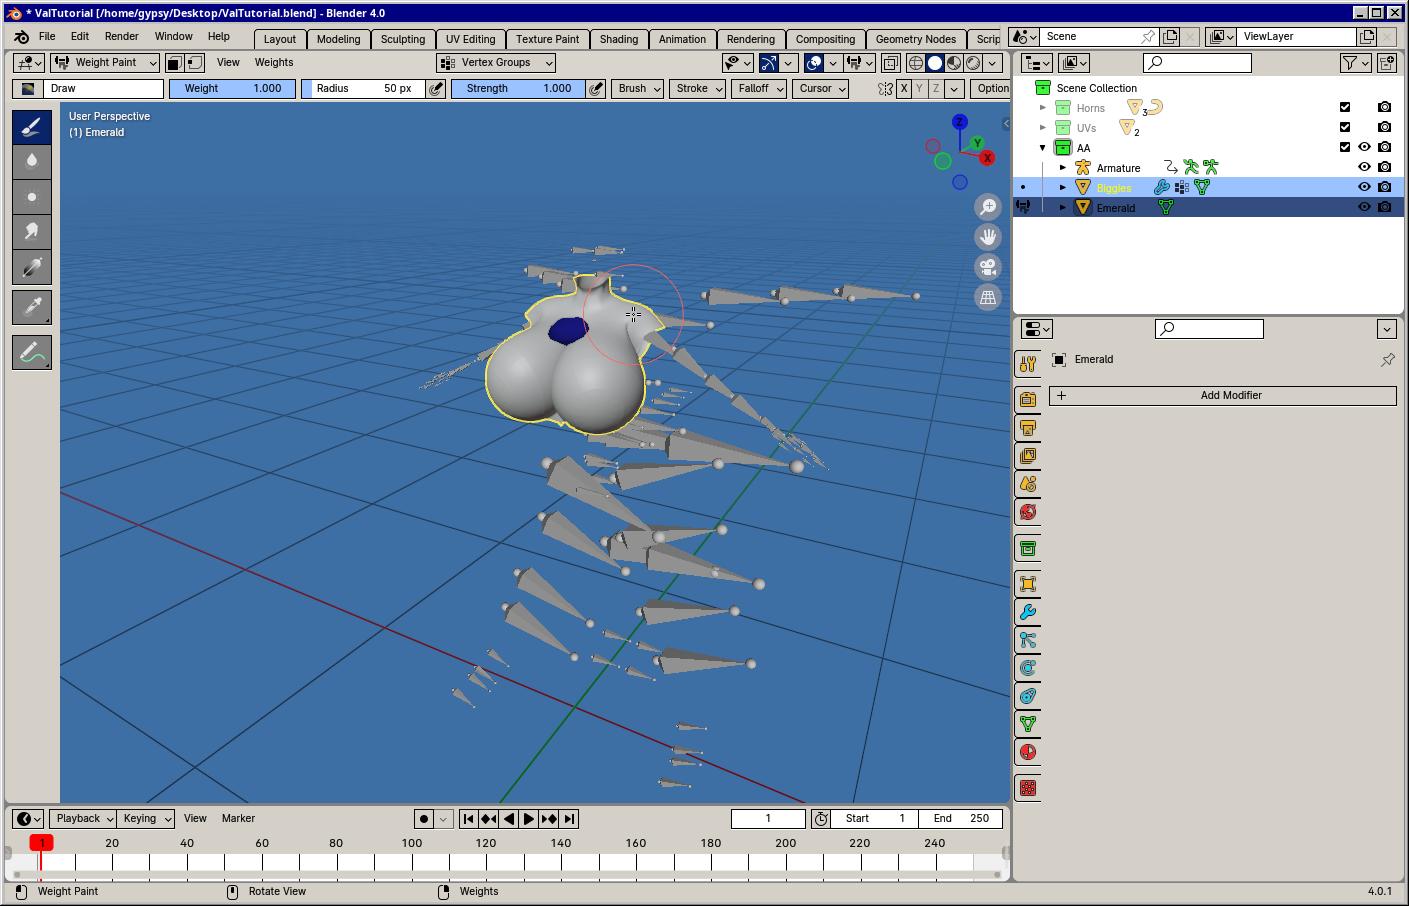
First select the body, then Shift+Click the emerald. This sets the emerald as the active object. Next switch to Weight Paint mode by either finding in in the drop-down at the top-left of the screen or by using Alt+Tab to bring up the radial. When you see the emerald turn blue (or black) then you're ready to transfer

Either in the search or the weights menu, select Transfer Weights
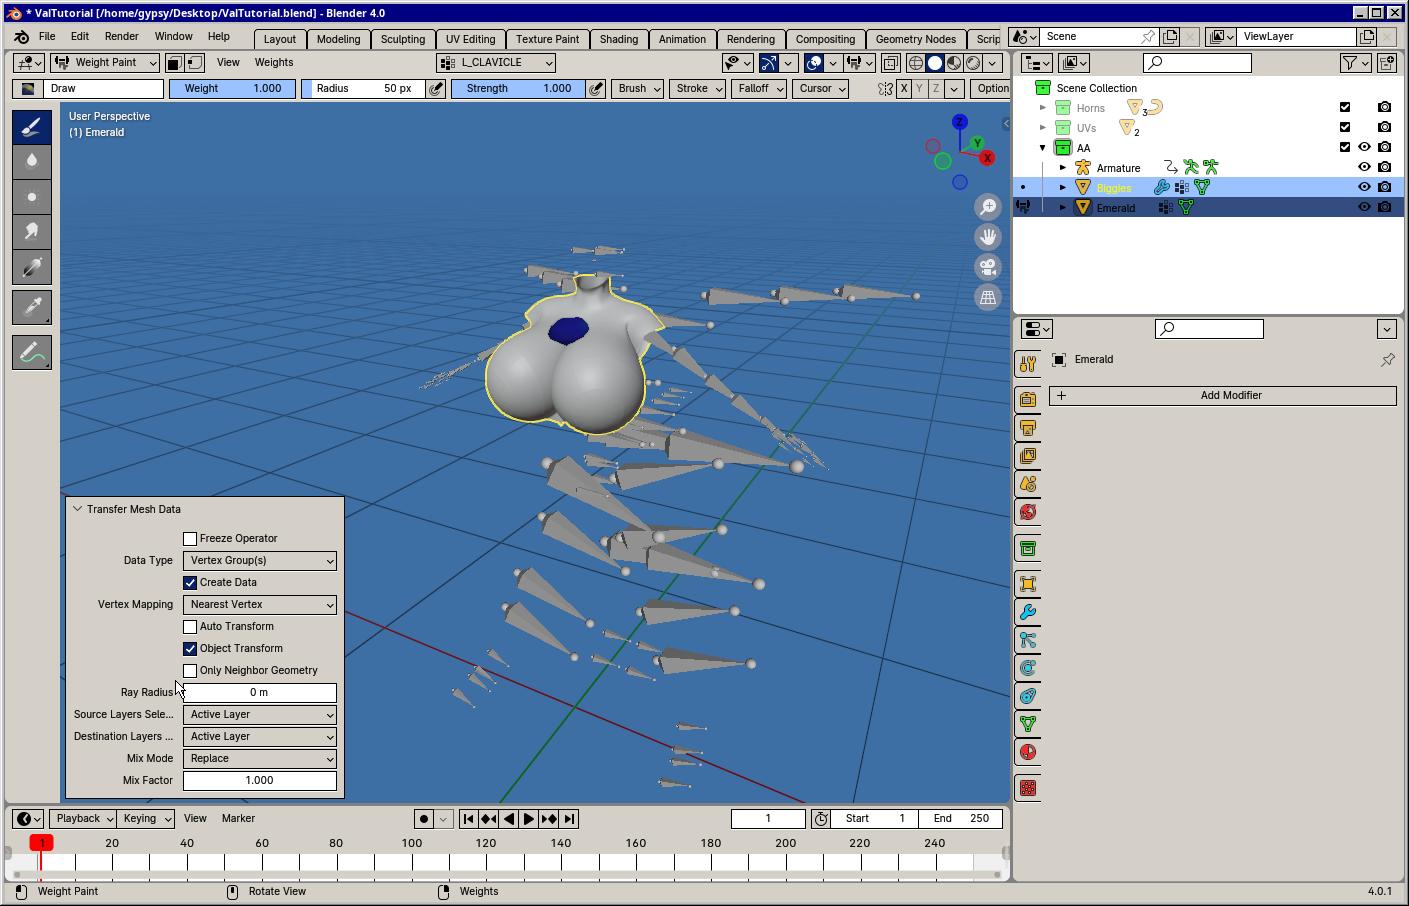
A popup will appear labelled Transfer Mesh Data. By default it will only transfer a single weight zone (The active layer). Since we want to tranfer everything, set Source Layers to By Name and Destination Layers to All Layers

With that done, the weights will have finished transferring
TopNow just because we automatically transferred weights doesn't mean it's all perfect. Let's see how it looks!
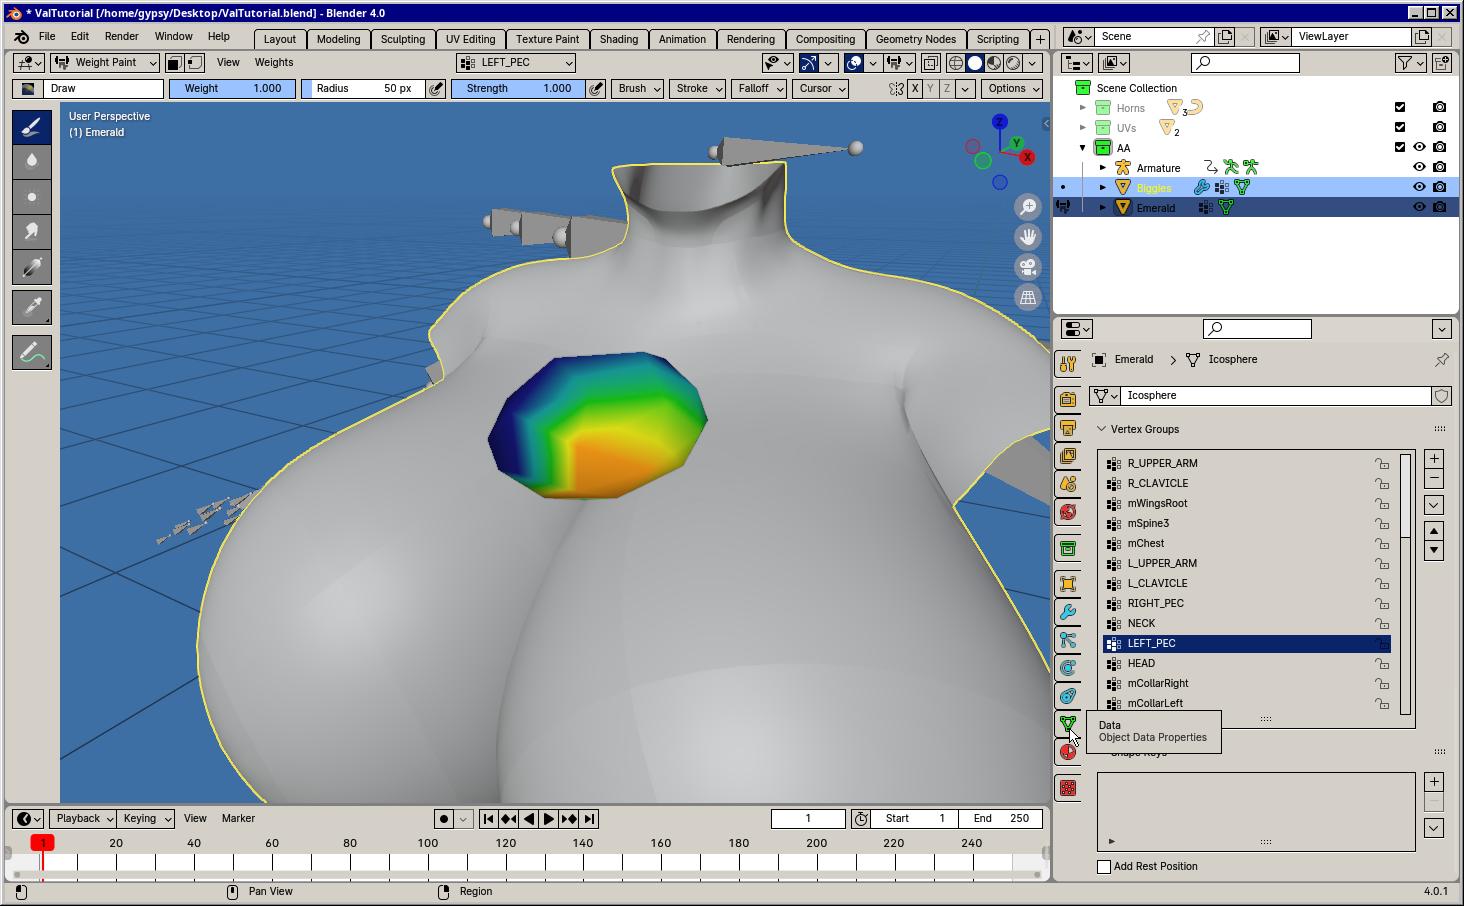
Navigate to the Data properties on the right. It looks like a upside-down green triangle. Within it you'll see a list of all the weight zones inside the Vertex Groups box. Try selecting LEFT_PEC and see how the emerald looks. It's turned a few different colours!
Weight strength is represented by colours. No influence is blue. High influence is red.
This means that the area of the emerald closer to the left pec is more influenced by that area. Makes sense right?
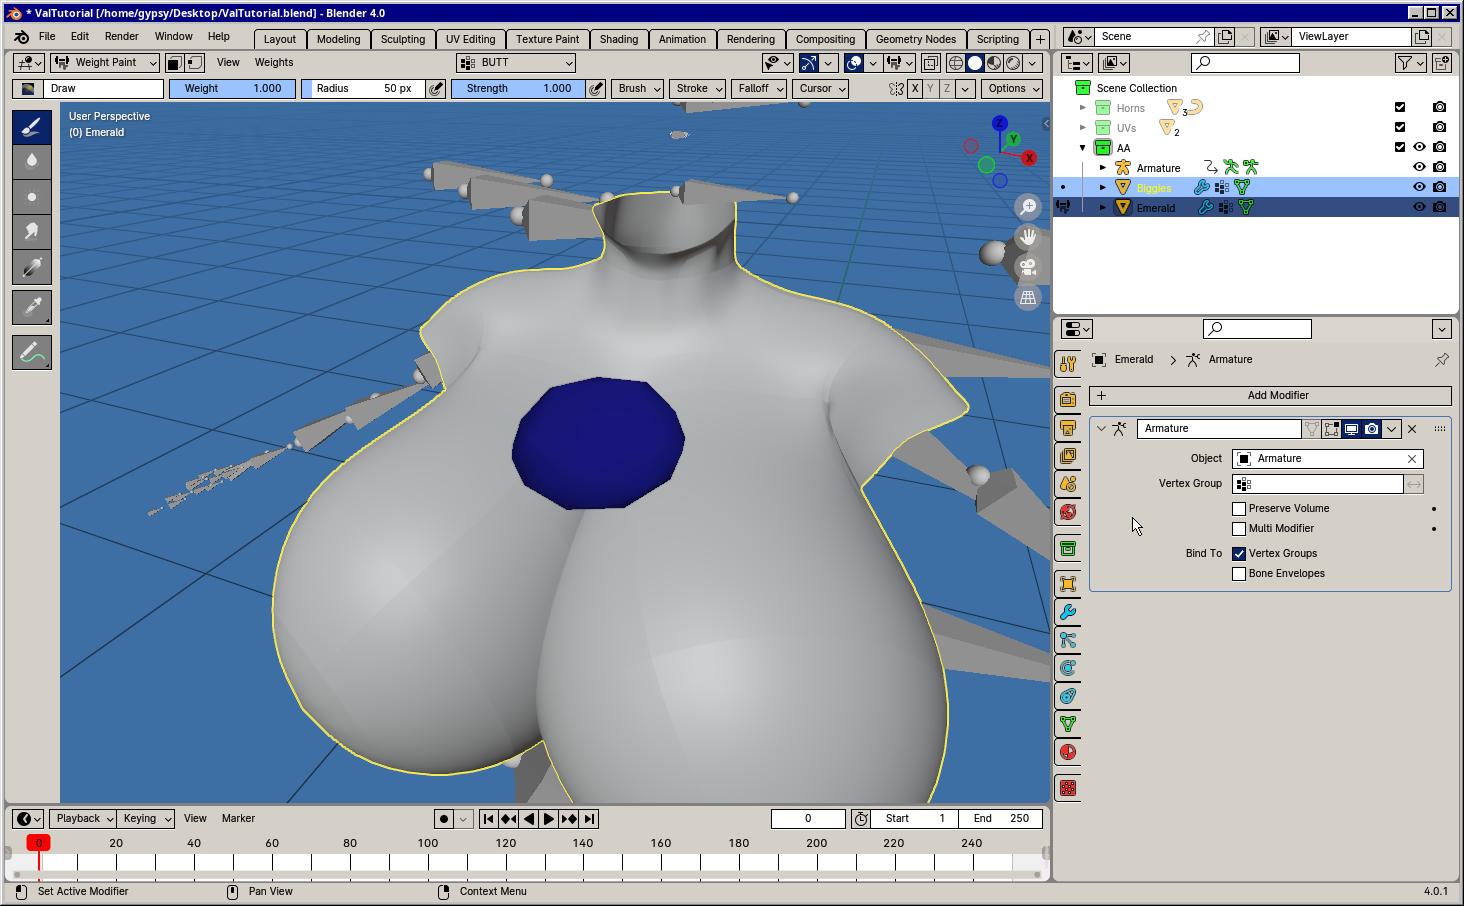
For the weights to actually affect the object, we need to add an Armature modifier to the emerald. Set the armature to the same one that the body uses. From there you can slide the timeline around and watch the emerald move!
TopYou may have noticed a light issue with the emerald. It's liable to stretch D:

This is because the area it takes up (The skin of the boobs) deforms.
To get past this, we will manually set the weights.
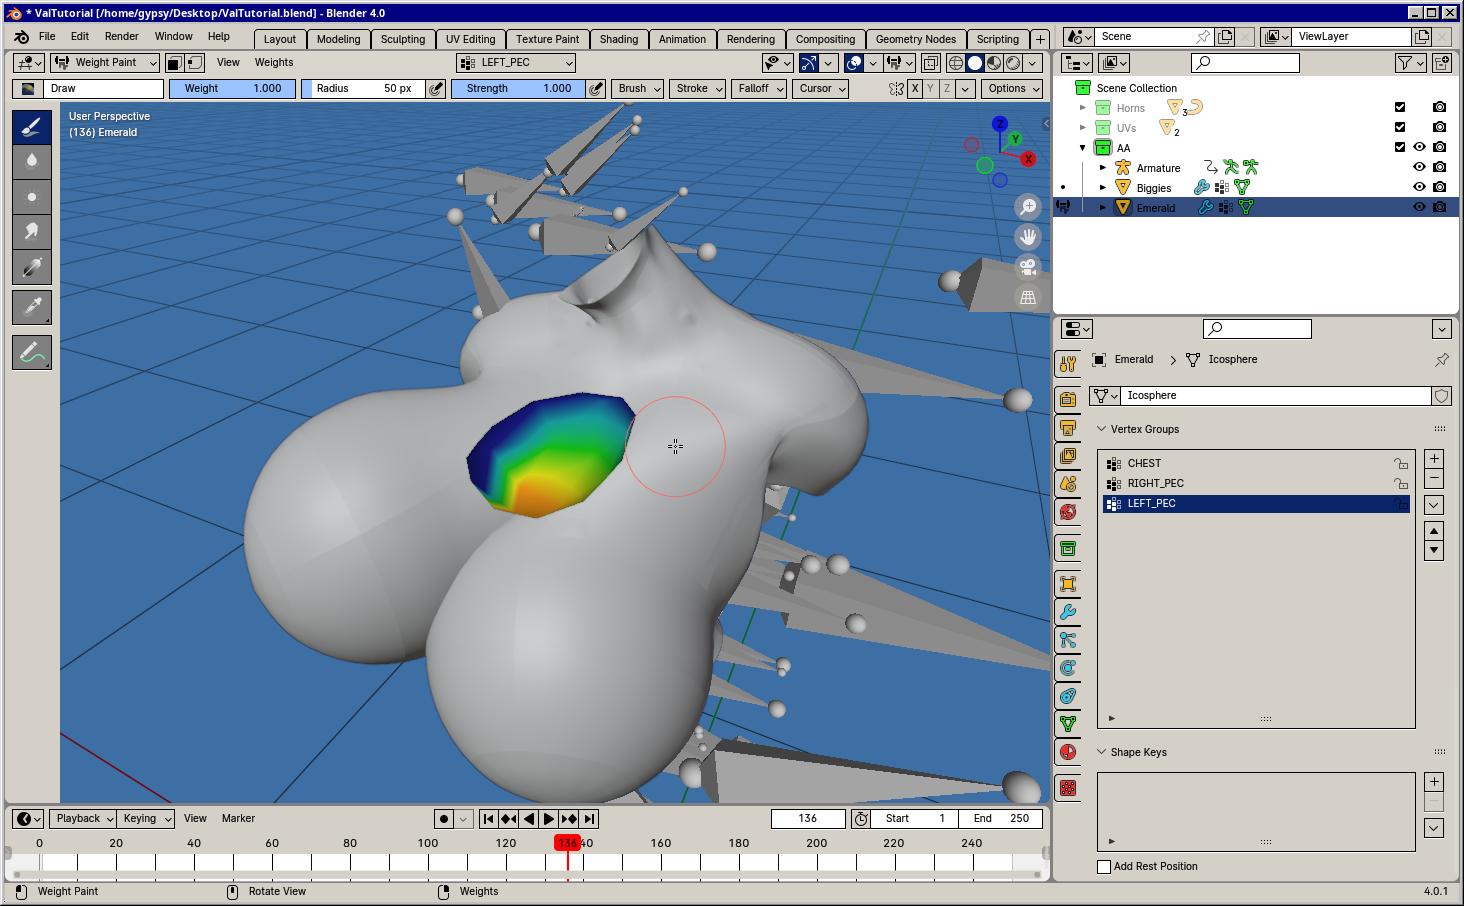
To make this easier, remove all the weights besides the CHEST, LEFT_PEC and RIGHT_PEC. Those are the only areas that we're concerned about. You might find some little bit of influence from the R_UPPER_ARM or L_CALVICE but since we don't want this emerald to move when the arm does, just remove those.
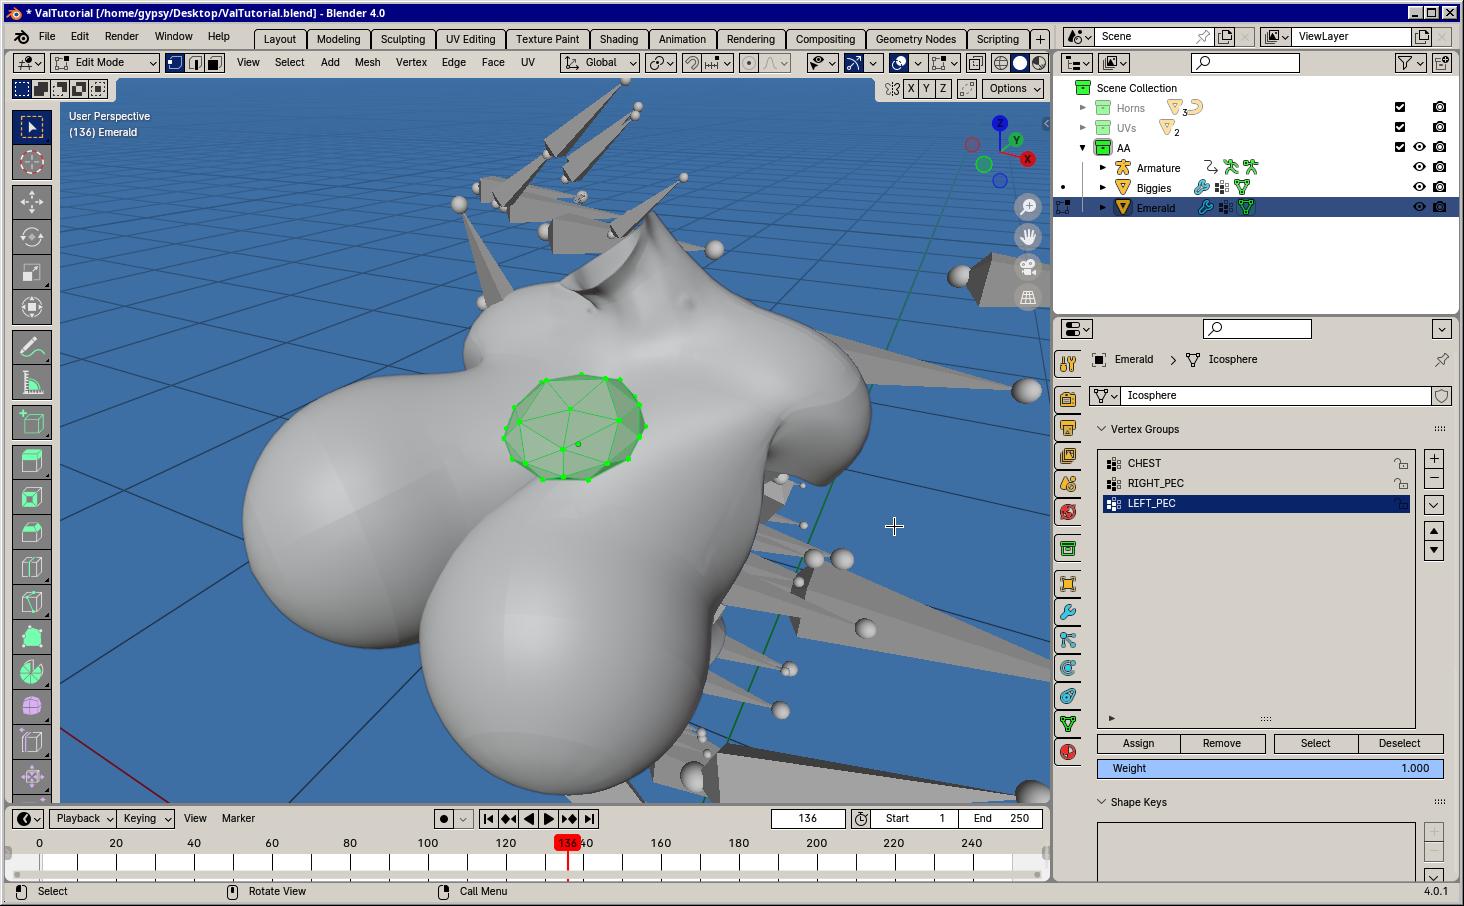
Select the LEFT_PEC group, tab over to Edit Mode and press the A Key to select all the verticies. Below the Vertex Group section where the list of weight zones are you'll see a slider labelled Weight and some buttons above it. I'll leave it at 1.0 and click apply to set all the verticies to that value.
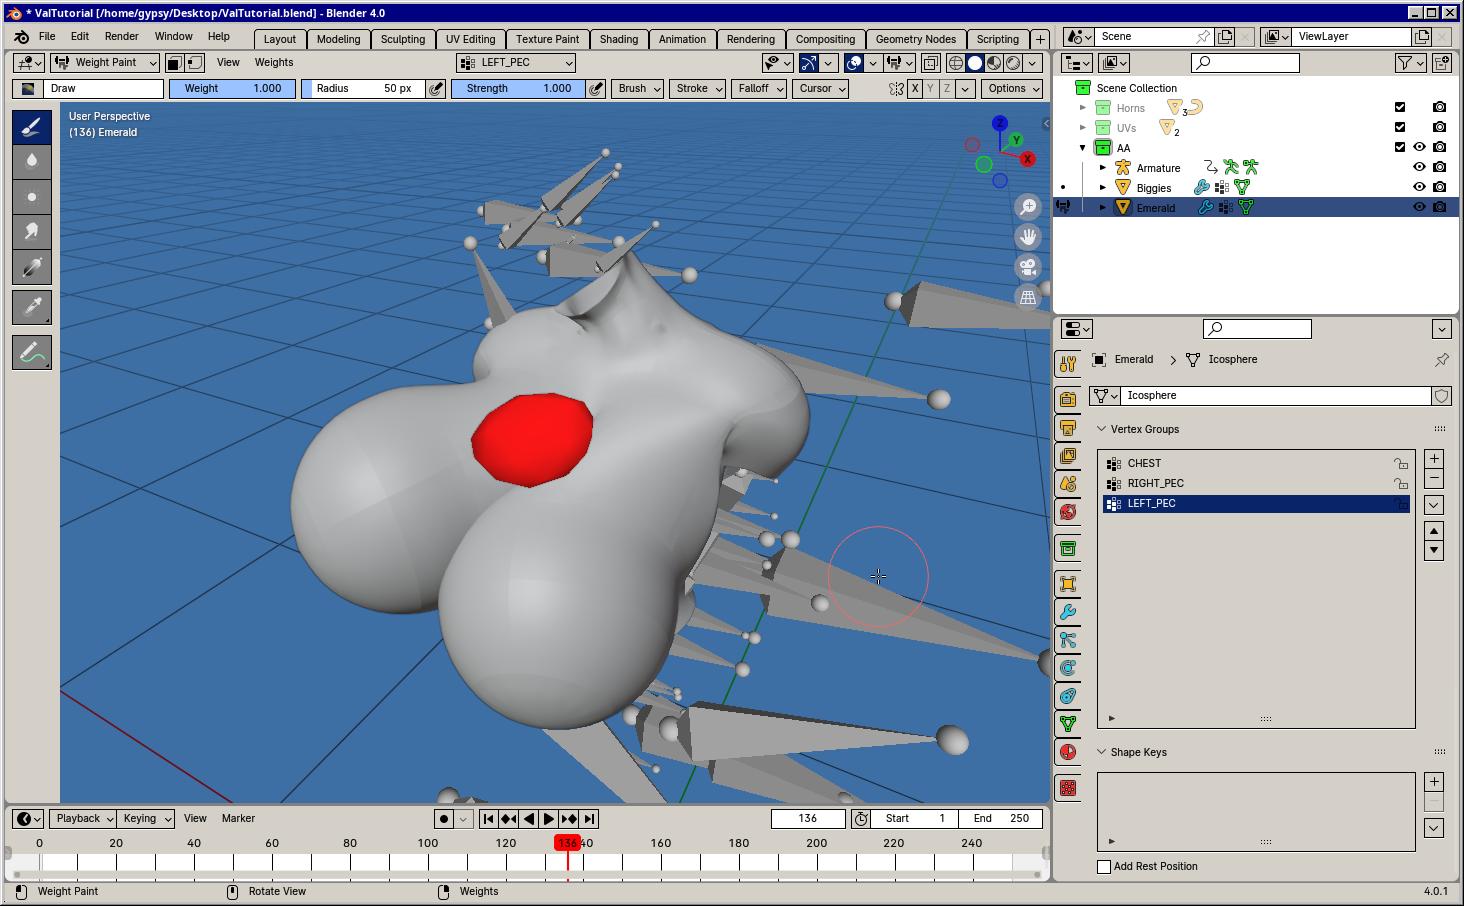
Tabbing back will let you see that the selected weight group completely covers the object in red. Do the same thing for the RIGHT_PEC group by repeating the above steps.

For the CHEST I want to do something different. I'll do the same as above but I'll set the weight to 0.7 before I hit apply. This will mean the CHEST has some influence but not more that the boobs.
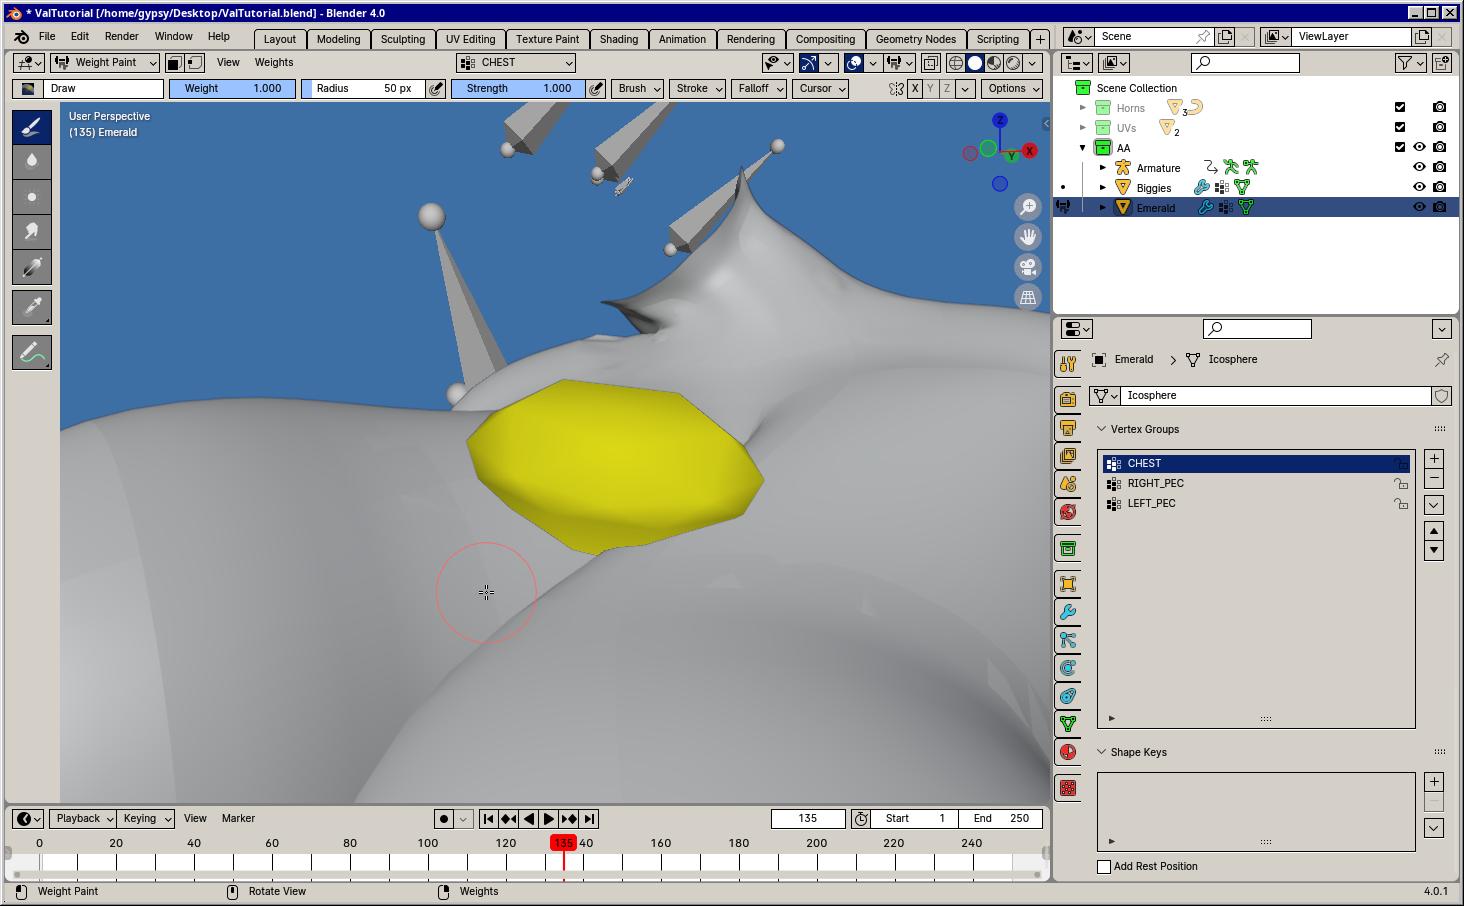
Now it should be clear that the emerald doesn't stretch or squash since all the weight groups uniformly cover the object at their respective weights!
TopThis part is pretty important. If you've used modifiers before you'll know that you need to apply them before exporting unless you won't end up with them. That's not the case with the armature modifier. Keep it in the list of modifiers, preferably the only one left before you export.
Checklist of things to do before exporting rigged mesh:
There you go! Hope that helps :D
Top